This is the best time to snap the ends off the pins. Make the inner ones 5/8" long, and the outer ones 13/16" long...
To make this fitting up, you will require
four household pins, or else some thinnish wire.
Four strips of balsa, thick enough to take
the pins pushed through them and yet not to break.
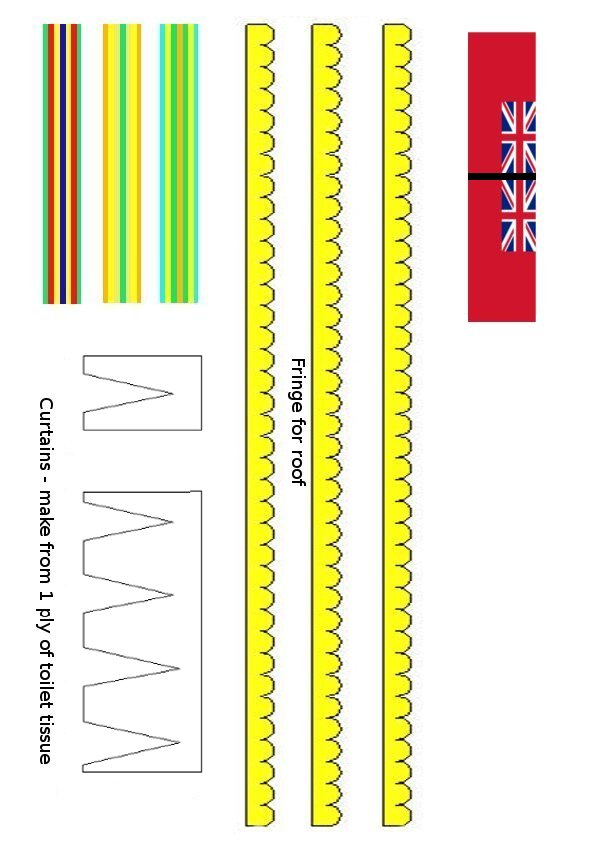
A strip of paper does for canvas sheer
You'll find some patterns in the JPEG
here.
Now, place the wood in twos, offset a tinge
and push the pins right through to make a hinge.
Unfold the wood and drape the paper round.
UHU or any glue will stick it down.
A small deck chair! These simple things we take
and, added to a model, go to make
the difference between a boring boat
and one that people watch when it's afloat...
With apologies to
Sidney Smith
And here you see the sellotape undone and the wood opened out to pin the inner pair end.
Here you see a few pins through...
Now when you open the wood out to the end of the pins it should look like this...
A dab of cyano may be used to hold the pins in, or repair a split end if you need to. The chair will usually stay up on its own, but you could glue in a supporting strut if you want to be really fiddly...
Cut out a 1/2" coloured canvas sheet from the
provided JPG, and fold it over the two end pins. Glue in place. And that's it!
Ofset the two inner ones by 1/8", and sellotape them together to make it easy to push the pins through. Here I'm cheating with a dental burr, but it's not essential.
A pin goes through both ends of the inner pair, the end of the outer pair which is sticking out (covered with sellotape in the picture) and at the central pivot. Make that 13/16" from the 'sticking-out' end of the outer pair....