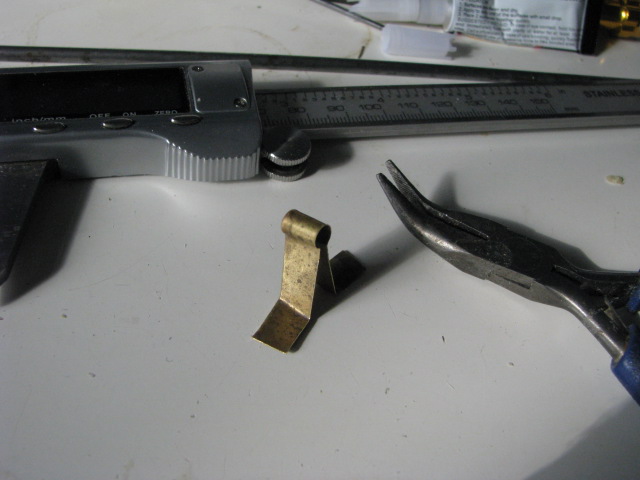
And this is what it looks like when finished. A bit of solder will hold the two sides firmly together.
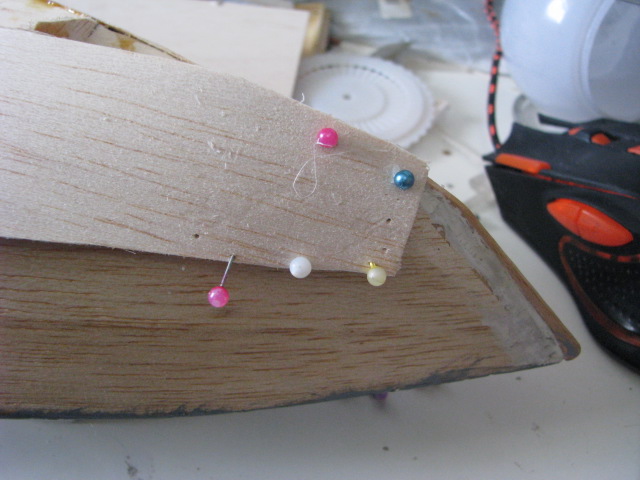
The keel should be sanded to a bevel at the bow, and the bottom skin just overlaps it. Make sure it is well glued.
When dry, the bottom skin is sanded to an opposite bevel, and the other skin is put in place, overlapping it.
At the stern the two skins should abut. If there is a gap, it is easily fillwed with a thin strip of balsa.
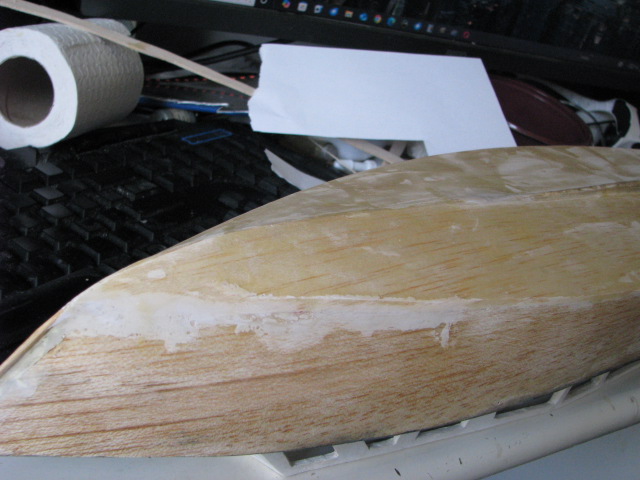
I needed a touch of filler! But, once smooth. the whole hull can be given a coat of sanding sealer and sanded down in preparation for painting.
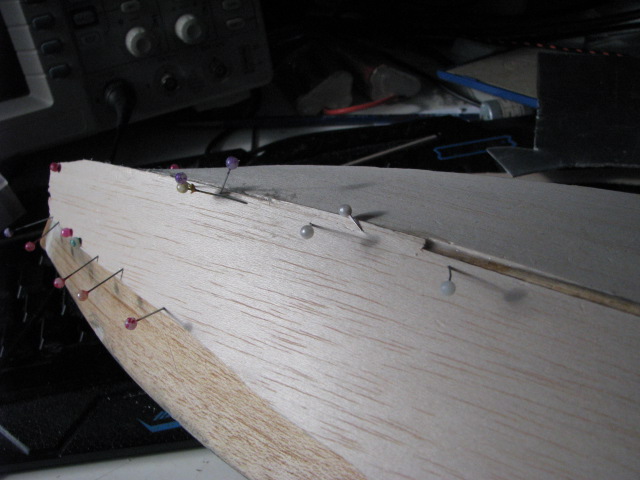
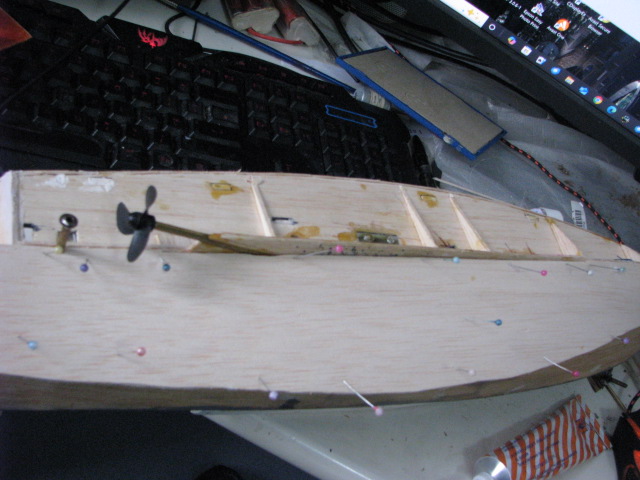
And here is the bottom skin going on. Note that it abbuts the keel in the center, but overlaps at the bows. The following pictures show that...
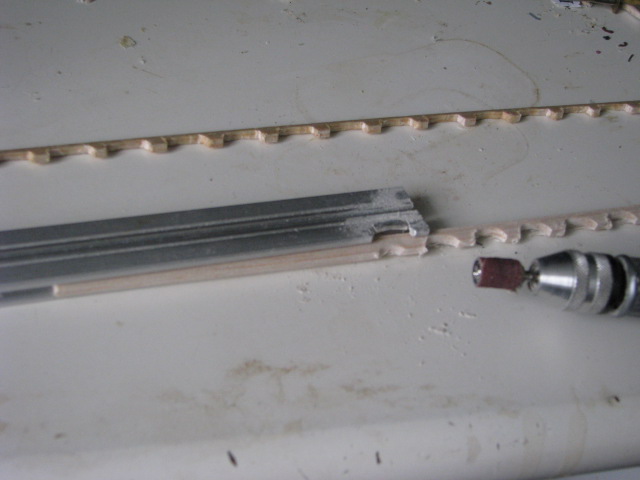
While the paint is drying, we can turn our attention to fittings. The prominent square section handrails are made from 1/8th balsa strip, using a simple jig to get the spacing precise.
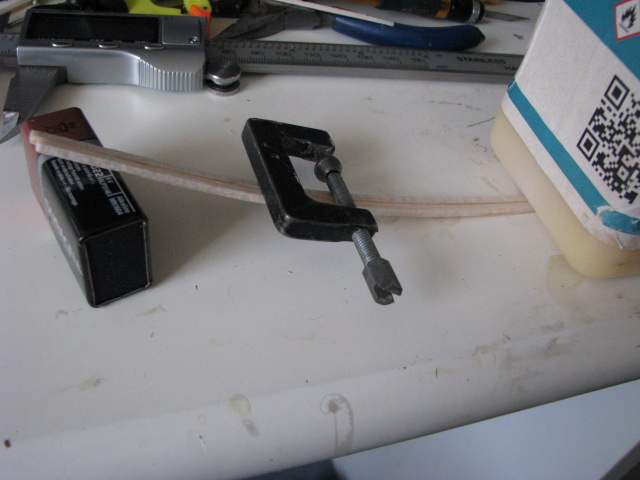
There are a couple of spray diverters at the bow - curved strips to push the bow wave away from the hull. The shape is shown on the plan - I soaked them and pre-bent them to shape with a little weight...
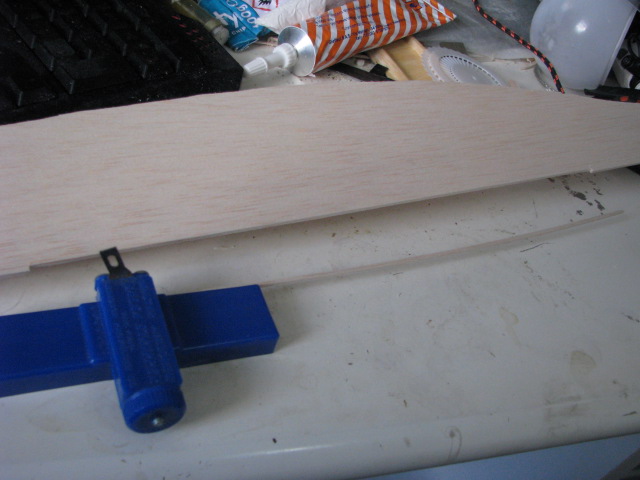
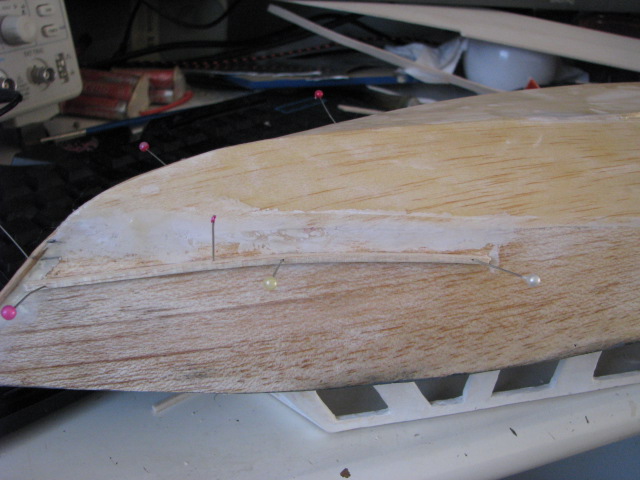
A thin strip is cut from the bottom skin, as marked on the plan. I found that a balsa stripper does the job admirably.
Once bent, they can be glued just above the bow chine like this.
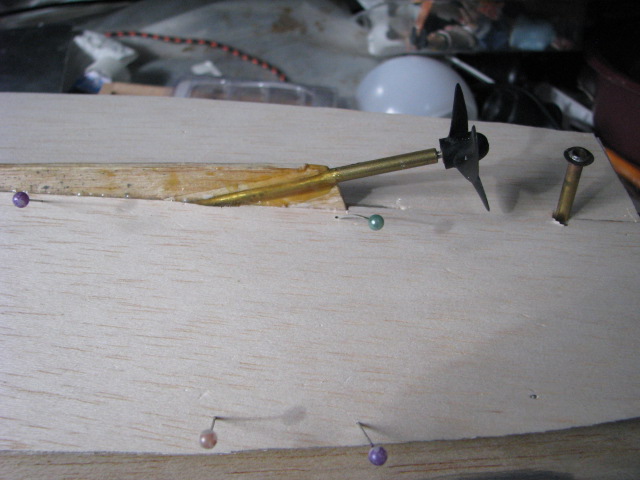
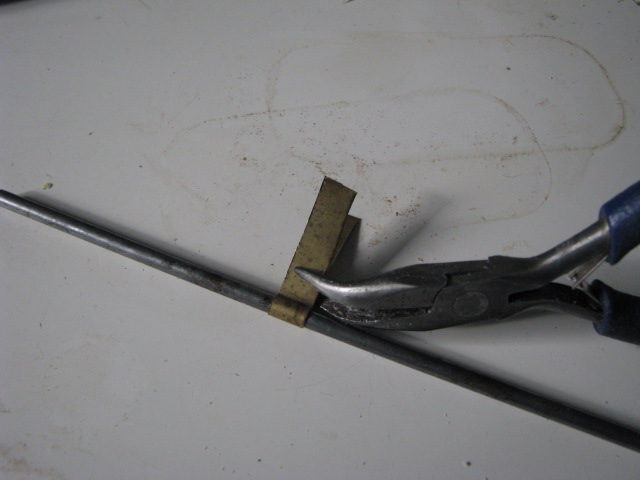
The prop-tube is supported by a P bracket just in front of the propeller. it's made from a strip of brass bent as shown.