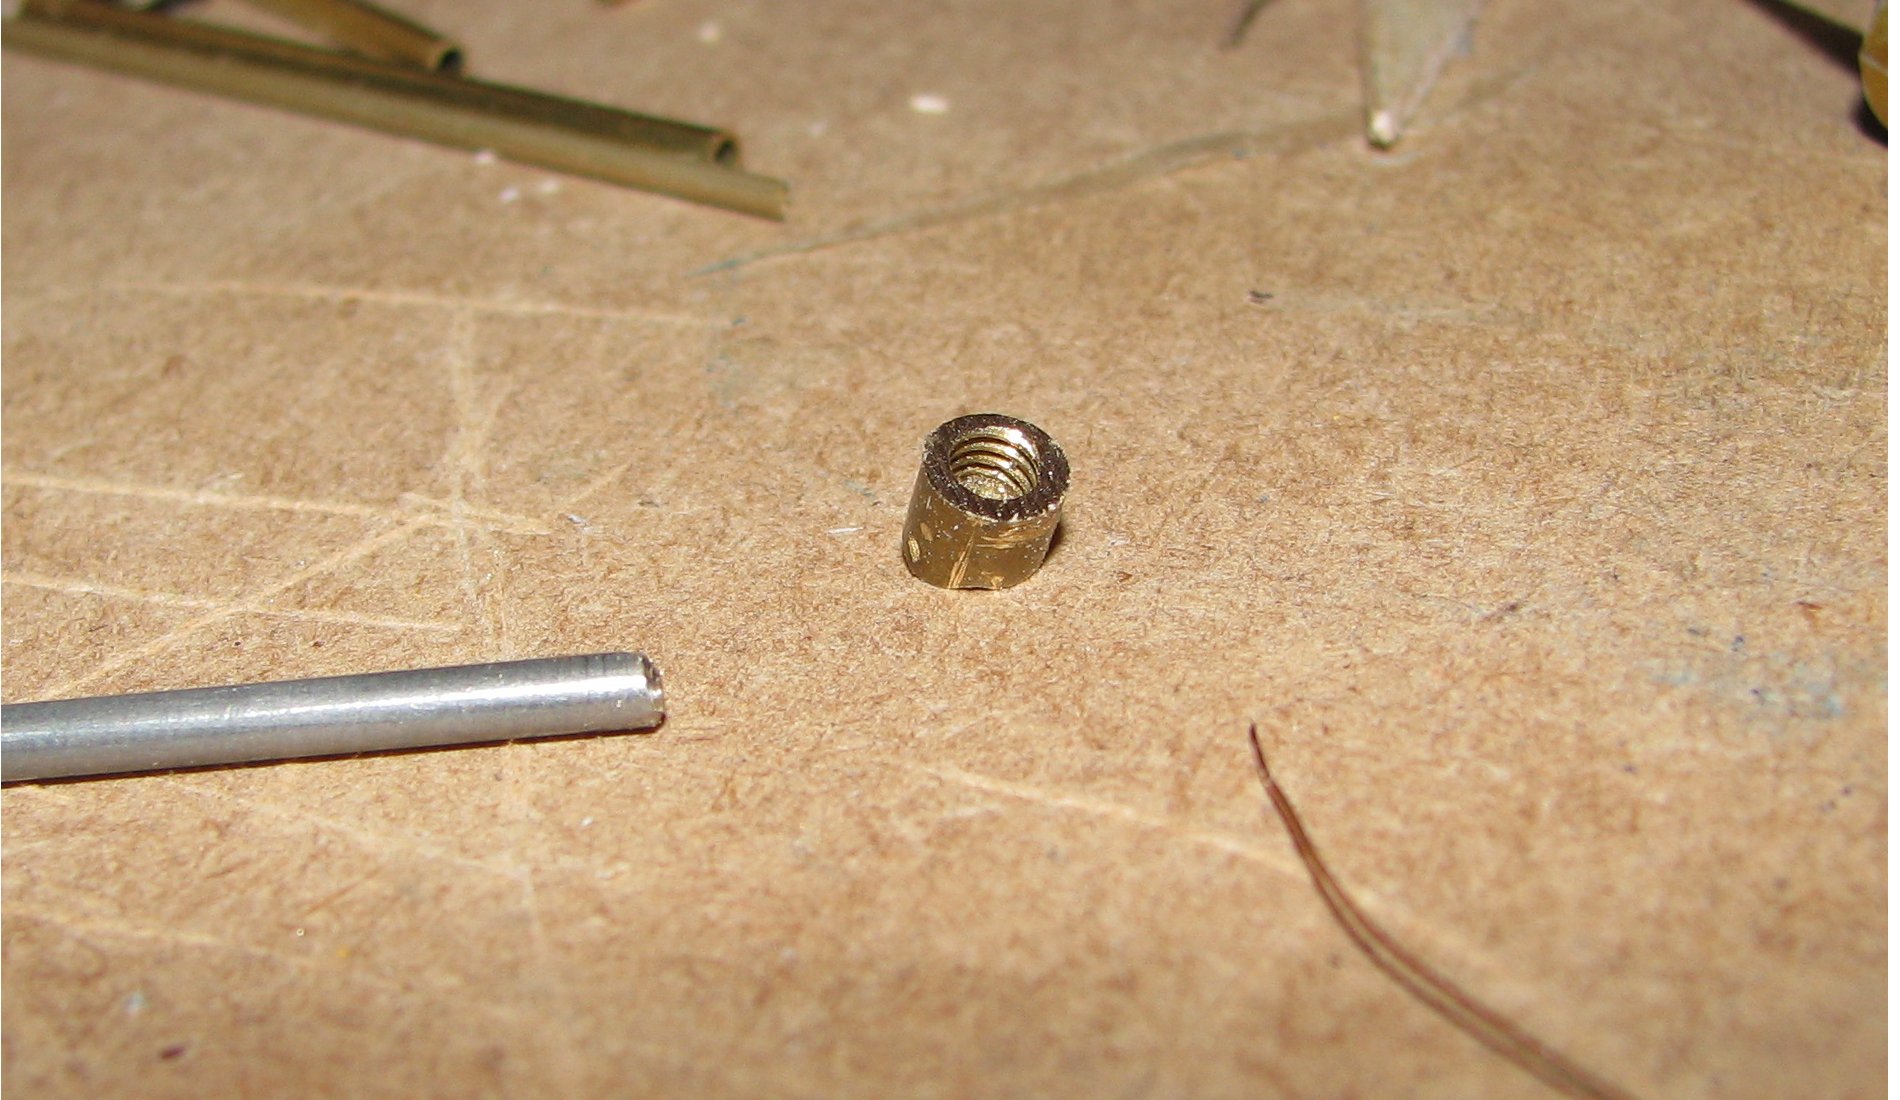
Ideally, you drill the brass to fit the piano wire. I got my brass by cutting the end off an old plug fitting, and had to use this technique to hold it more or less central while I soldered it.
and push the tin propeller blank onto the shaft so you can handle it easily.
A quick wave in a gas flame, and the tin propeller will be soldered firmly to the brass.
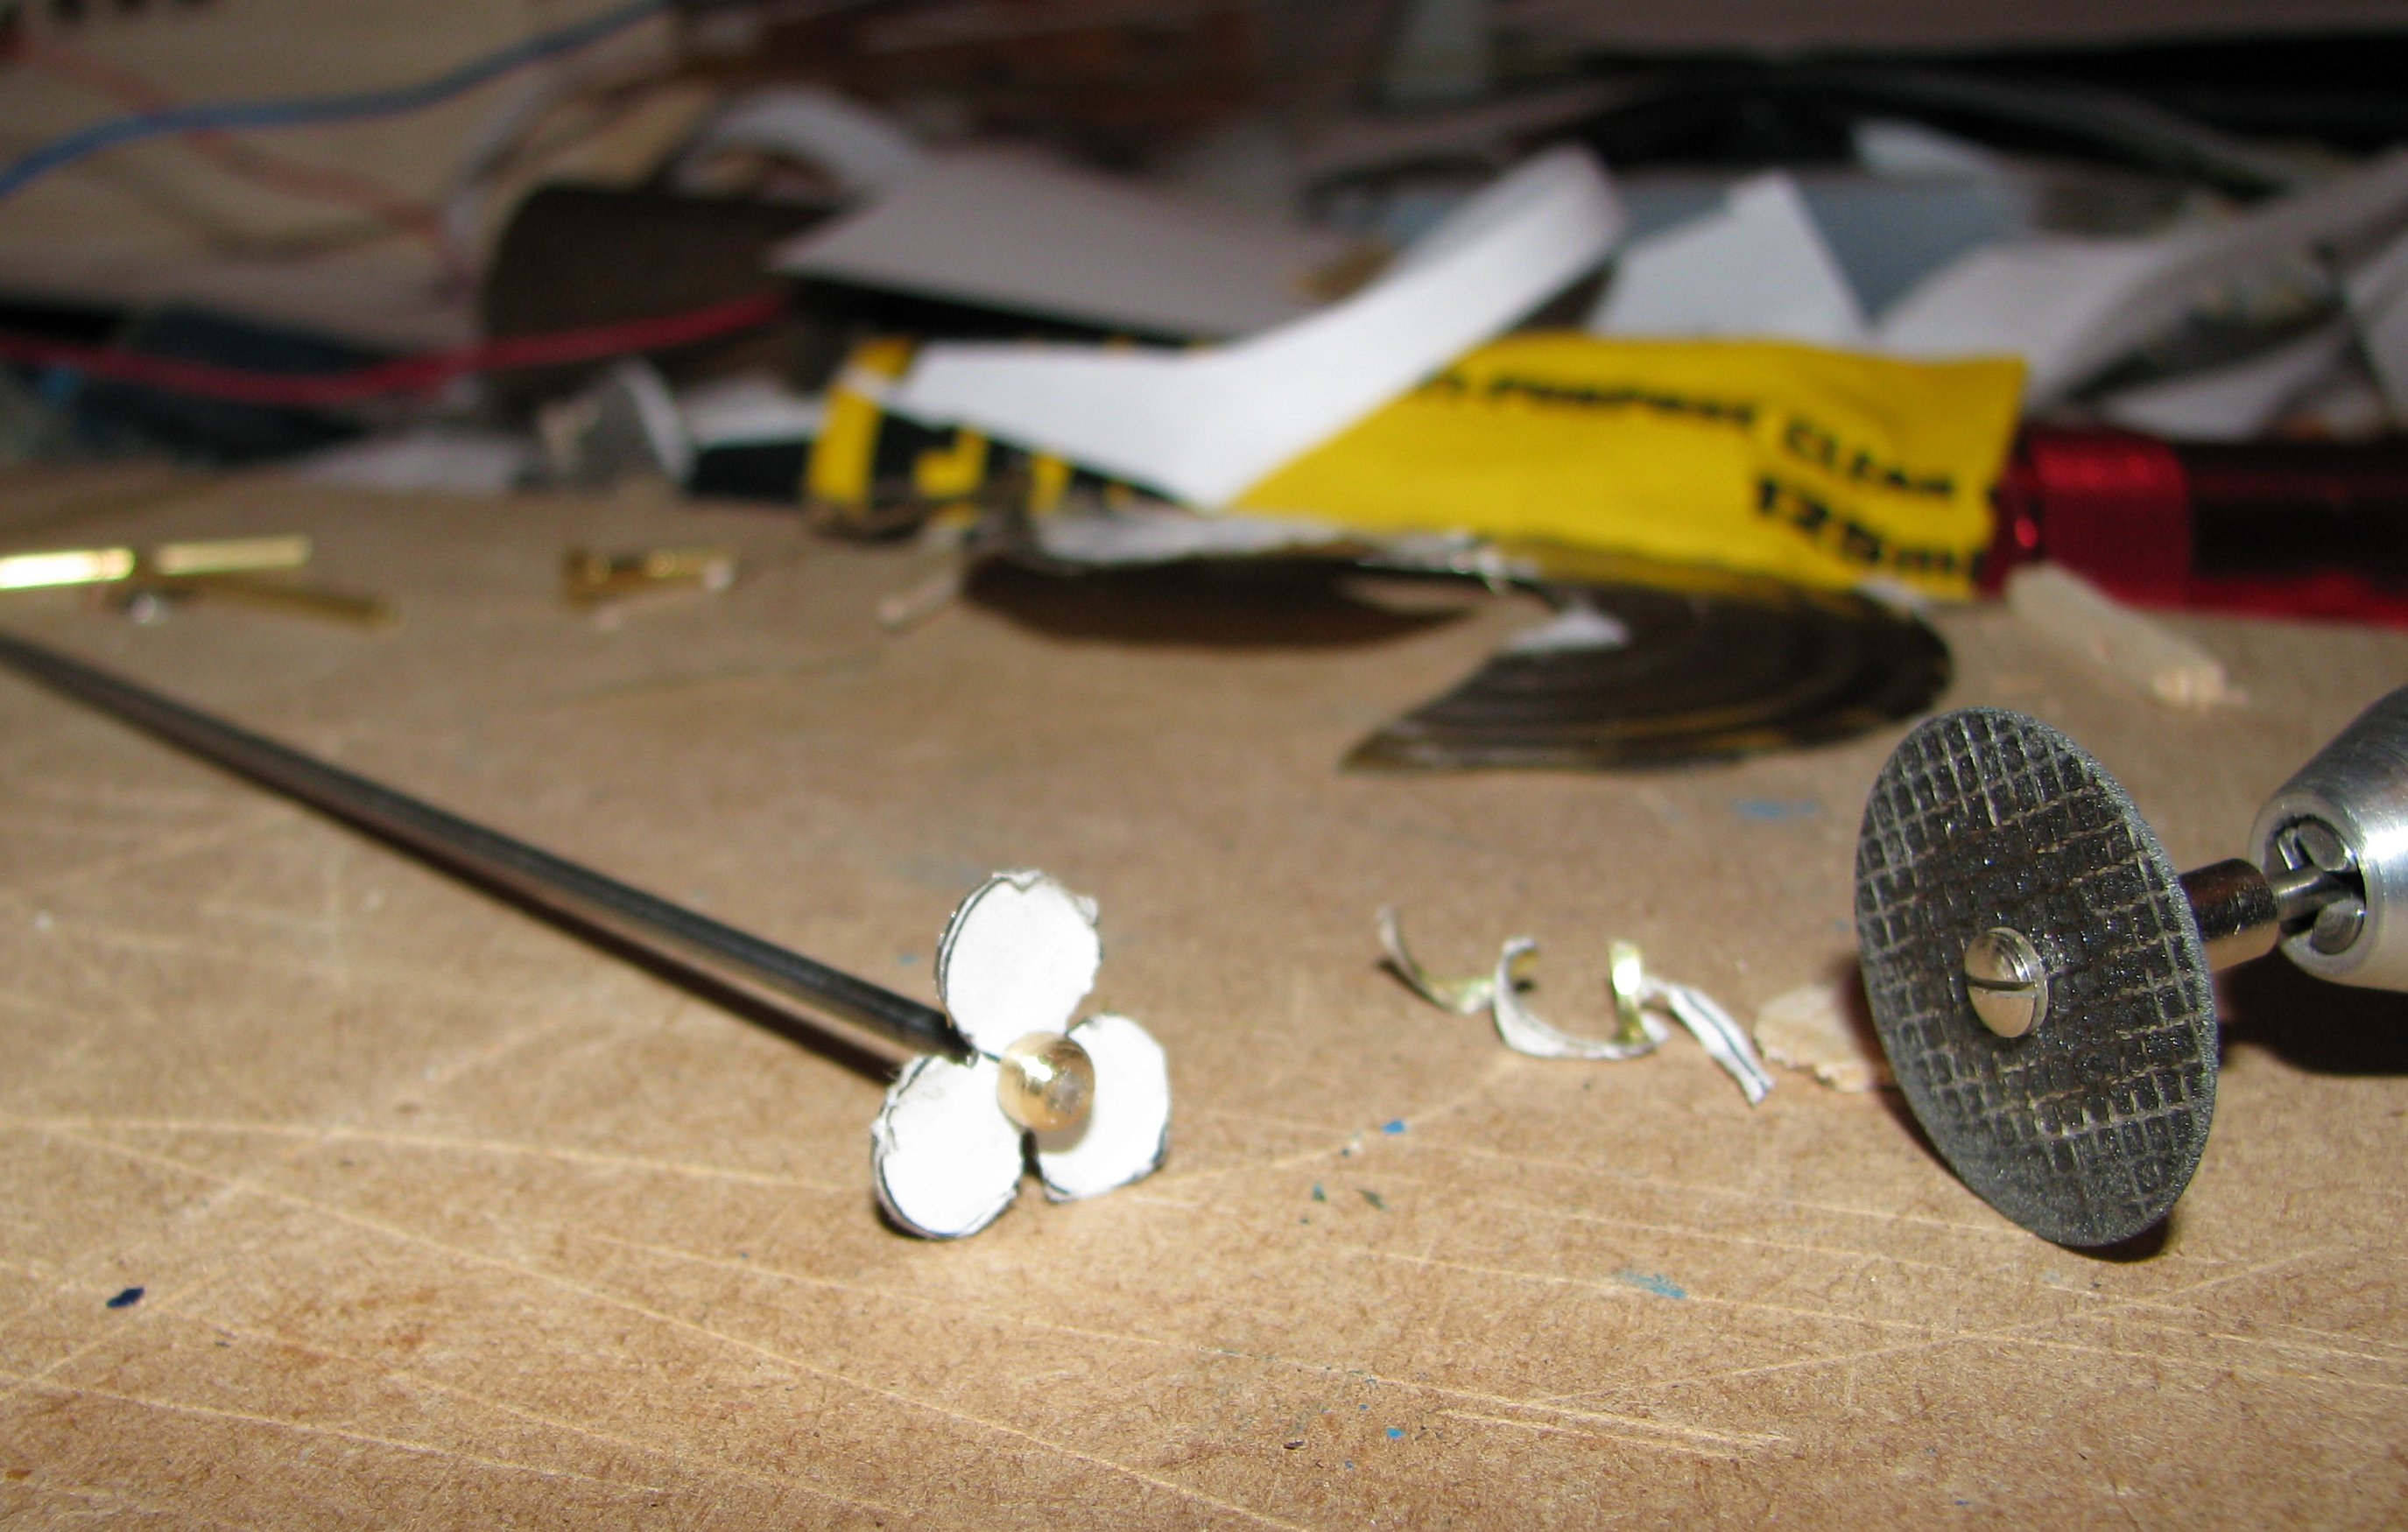
A Minicraft or Dremel with a cutting disk is ideal to do the final shaping. Follow the lines on the pattern...
It doesn't matter if it's soldered not quite central - once it's cool, put it in a drill and shape it with a file to a smooth cup shape...
Then you just use a pair of pliers to twist the blades to a 45 degree angle. If you twist a bit too much and unsolder the tin, simply wave it into the gas flame again and the solder joint will reform.
Now you have an authentic early EeZeBilt propeller...
Now clean off the remains of the paper pattern, and put a bit of acid flux onto the centre tin. If the tin has a varnish layer, use the non-varnished side for the flux! Keep the flux to the centre on one side - solder will run everywhere the flux is placed...