And pinned in place. Note the location of the notch, and the heroic pinning. You can just see the rubber band holding the tip of the bow...
A shot inside, to see the construction....
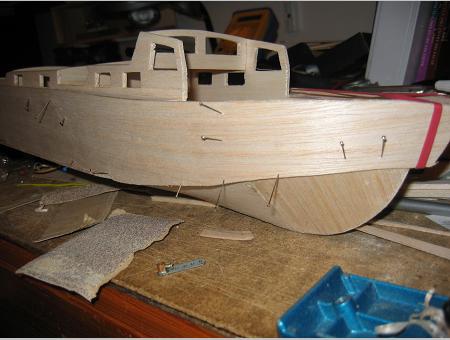
And here is the second skin going on. Old EeZeBilders will remember this stage as well..
And, apart from sanding, the basic hull is complete.
Here we do a trial fit of the motor - it turns out to be really tricky to fit - I should have moved the motor about 1/4" forward - but it goes in..
And running it shows that it's fairly overpowered...
This skin actually goes on rather easily, but I think I have got it the wrong way around. I should have abbutted the chine at the front, and overlapped at the back, instead of the other way round! Never mind - a bit of filler and I shall remember for next time...
You could almost do it just with the rubber bands...
Now the final part of the superstructure can be glued in. Although this is simplified, I think that it may still be a bit complex and fiddly for a starter EeZeBilt. Perhaps a second or third model.....
And on goes the front roof....
Finally, the last roof goes on. That's the complete hull. Now for finishing and painting!
At this point the build has taken a few weeks - mainly waiting for deliveries and researching things. In terms of actual build time it was about two afternoons - perhaps a bit more if you count the cutting out of the patterns.
The total weight of the 20" hull at this point is 5 1/2 oz - about 160gm. With a brushless motor, this will not hang around....