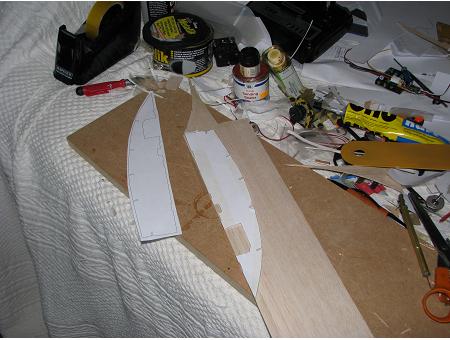
So we do our usual - cut out the hull base. Here you can see a central hole for the motor mount, and a little one to the stern for the edge of the connector, in case I decide to use a big brushless...
Now we fit the formers and braces, to test them. They should slot together perfectly.
Glue the formers in place, including the bow former. Note that the front former is tilted forwards...
Here you can see the notches at the front of the hull brace. We are going to bend the hull base up, and the notches will just slot into the slots in the front former...
Attach the hull braces, and glue at the rear - up to the last three formers. Leave the brace between the front two formers unglued for the moment - it will have quite a gap under it...
Glue under the brace, and then click it into position. You may want to put a bit of weight on to keep it there, and help the hull base underneath to bend evenly...
And join the two hull bases together...
While that's gluing, you can start the superstructure. Take the two side pieces, and join them with the front and rear deck pieces.
Check everything is square, and leave to dry overnight
Time for another small 50+. What shall we do this time? Well. we haven't got a lifeboat.....
Here is the cockpit. Yes, I know it's nothing like scale. When I built this, I only had a picture off the net to work from, and it didn't show this bit...
Anyway, the cockpit and rear deck fit like this. You will find that I have modified the plans I will put up to be a bit more realistic....