And the superstructure slotted into its mounted position, to check that it fits...
The windscreen parts are cut out roughly - they will be trimmed when glued...
And just stick the rear deck on - testing it for fit against the superstructure.
Here they are stuck on, and waiting to be sanded.
The front deck will need to be bent into position and held with a weight or some clamps.
placed into position.
Before we skin the hull, we must attach the motor mount. I have glued a prop shaft into position in the keel...
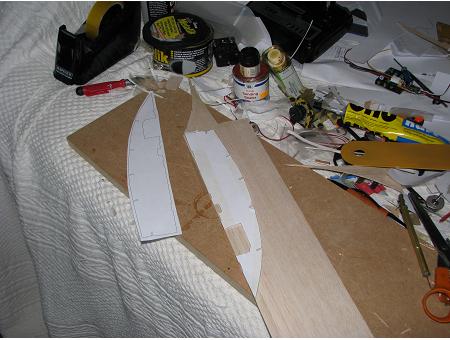
If the superstructure fits OK, prepare the deck pieces. I was going to leave the rear braces low to give more room for the radio fit, but eventually I decided to build them up and fit a brace across the stern to give a bit of strength where the deck joins.
This bit of balsa was so soft I put a metal reinforcement under it. You may not need to...
As the mount is gluing, align the motor to the prop shaft. You can see where I cut holes for a big connector, in case I want to go brushless...