You need a little ledge at the front of the bow to help support the bottom skin.
Then on go the bottom skins. Note that a bit of the keel remains proud along the whole length of the hull.
The balsa I was using was very soft, and tended to split, but that can easily be glued back...
It was so soft, in fact, that it could almost be treated like paper and just clamped at the front...
The bottom skin is then trimmed - all except the front 1 1/2". I was over enthusiastic, and trimmed all of it - so I had to stick a bit back on at the front. Still - it's easy to do this in balsa...
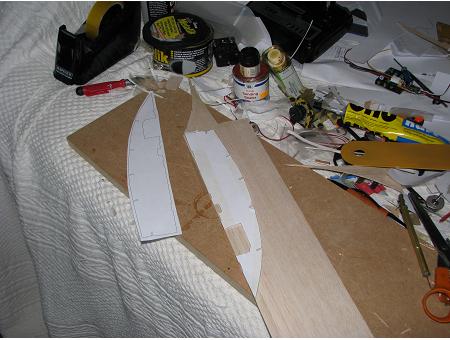
Here you can see the keel running the length of the hull.
The side skins go on next - the dog-tooth notch at the front is where the side skin changes from overlapping the bottom skin to butting up against it...
And you can see here how it needs to be chamfered.
I learned this after struggling with the skin on the other side!
Here is a closer shot - the balsa is splitting as usual, but lots of balsa cement cures this!
And this is how the keel merges into the bow...
This is what the other side looks like before trimming the balsa back...
And here is the basic hull completed, with the overlaps trimmed to shape.